
Tutorial videos on baked makeup are making rounds on social media platforms. You must have seen some of the videos while surfing the internet. Still wondering what baking your face is? It is one of the most asked questions, especially by ladies new to the makeup world.
Let me start by stating that this makeup trend is nothing new. Baking has been present for a while, yet it has recently become popular.
Although the baking procedure seems difficult, it is easy to execute and can give you a faultless finish. For clarity on this topic, here is a detailed guide on baking makeup and how to bake your makeup. You will get more information as you read.
What is Baking Makeup?
This method involves layering different makeup products, such as foundation, concealer, and setting powder. Allow the powder to bake for five to ten minutes after applying it to areas prone to creasing.
For a long-lasting finish, dust off the remnants with a makeup brush. Contrary to popular perception, it would help if you baked your makeup after applying concealer and foundation since it helps to prevent wrinkles.
How to Bake Your Makeup
The procedure is quite simple; even for a newbie in the beauty industry, follow these steps.
1. Prep and Prime your Skin
Ensure you prepare your skin with the necessary skincare product, such as a face moisturizer, before you begin. Additionally, I advise you to consistently use eye cream for the delicate skin around your eyes to avoid having your skin appear cakey or even dry.
Pro tip: Use an eye cream with moisturizing and nourishing ingredients. To ensure the makeup stays in place throughout the day, gently apply your skin primer.
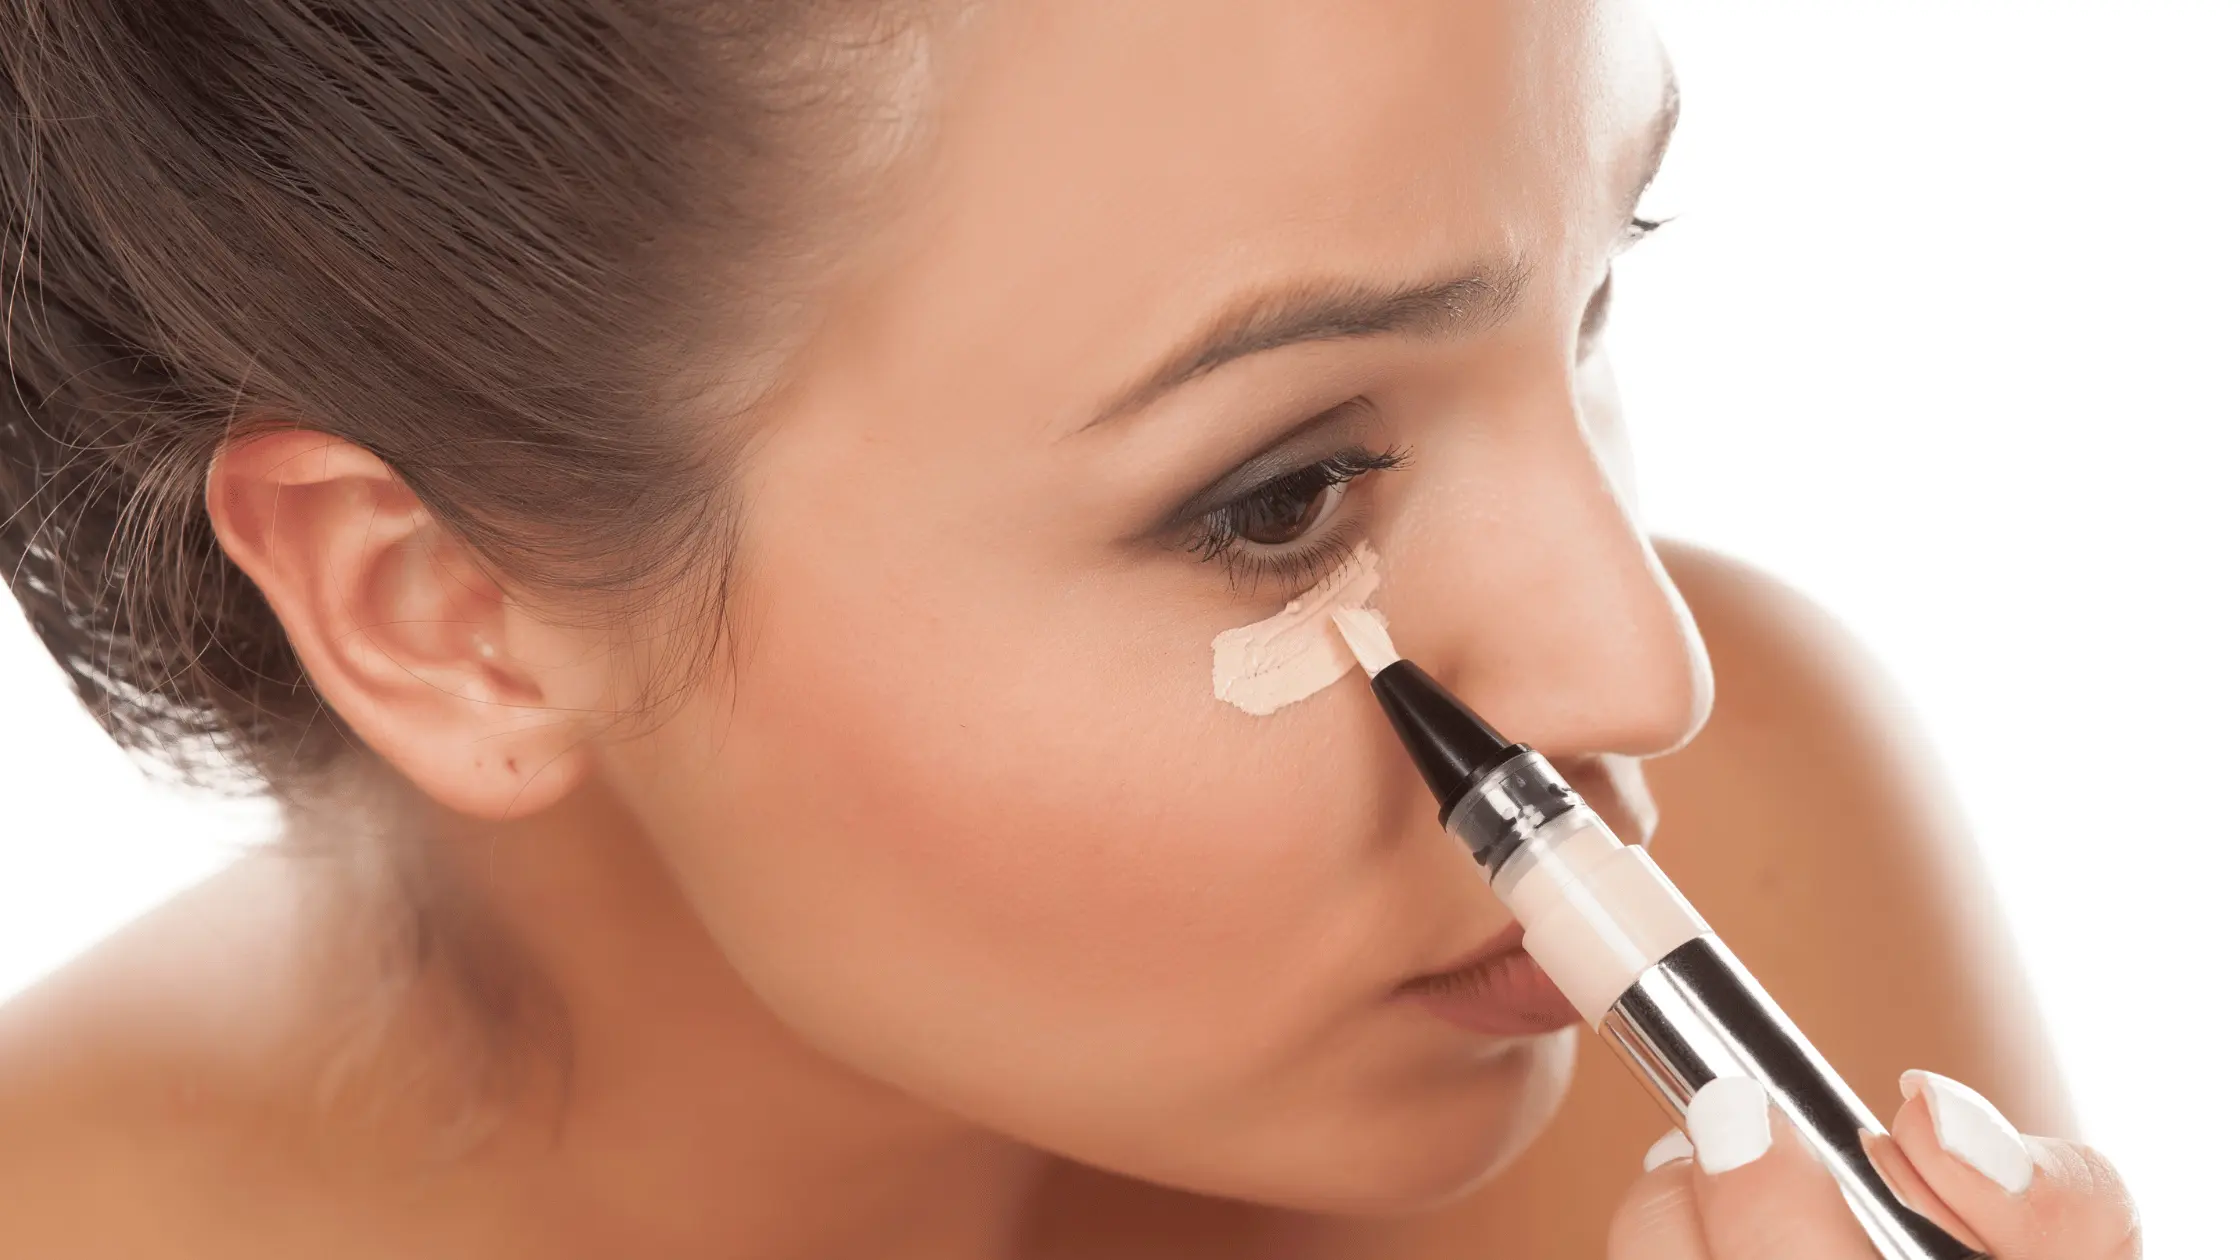
2. Apply Foundation
The next stage in your routine should be to apply foundation all over your face after applying your skincare products and treatments and allowing them to absorb fully.
The product you select will depend on the level of coverage you want. Apply your foundation in a circular motion all over your face until you are satisfied with the level of coverage.
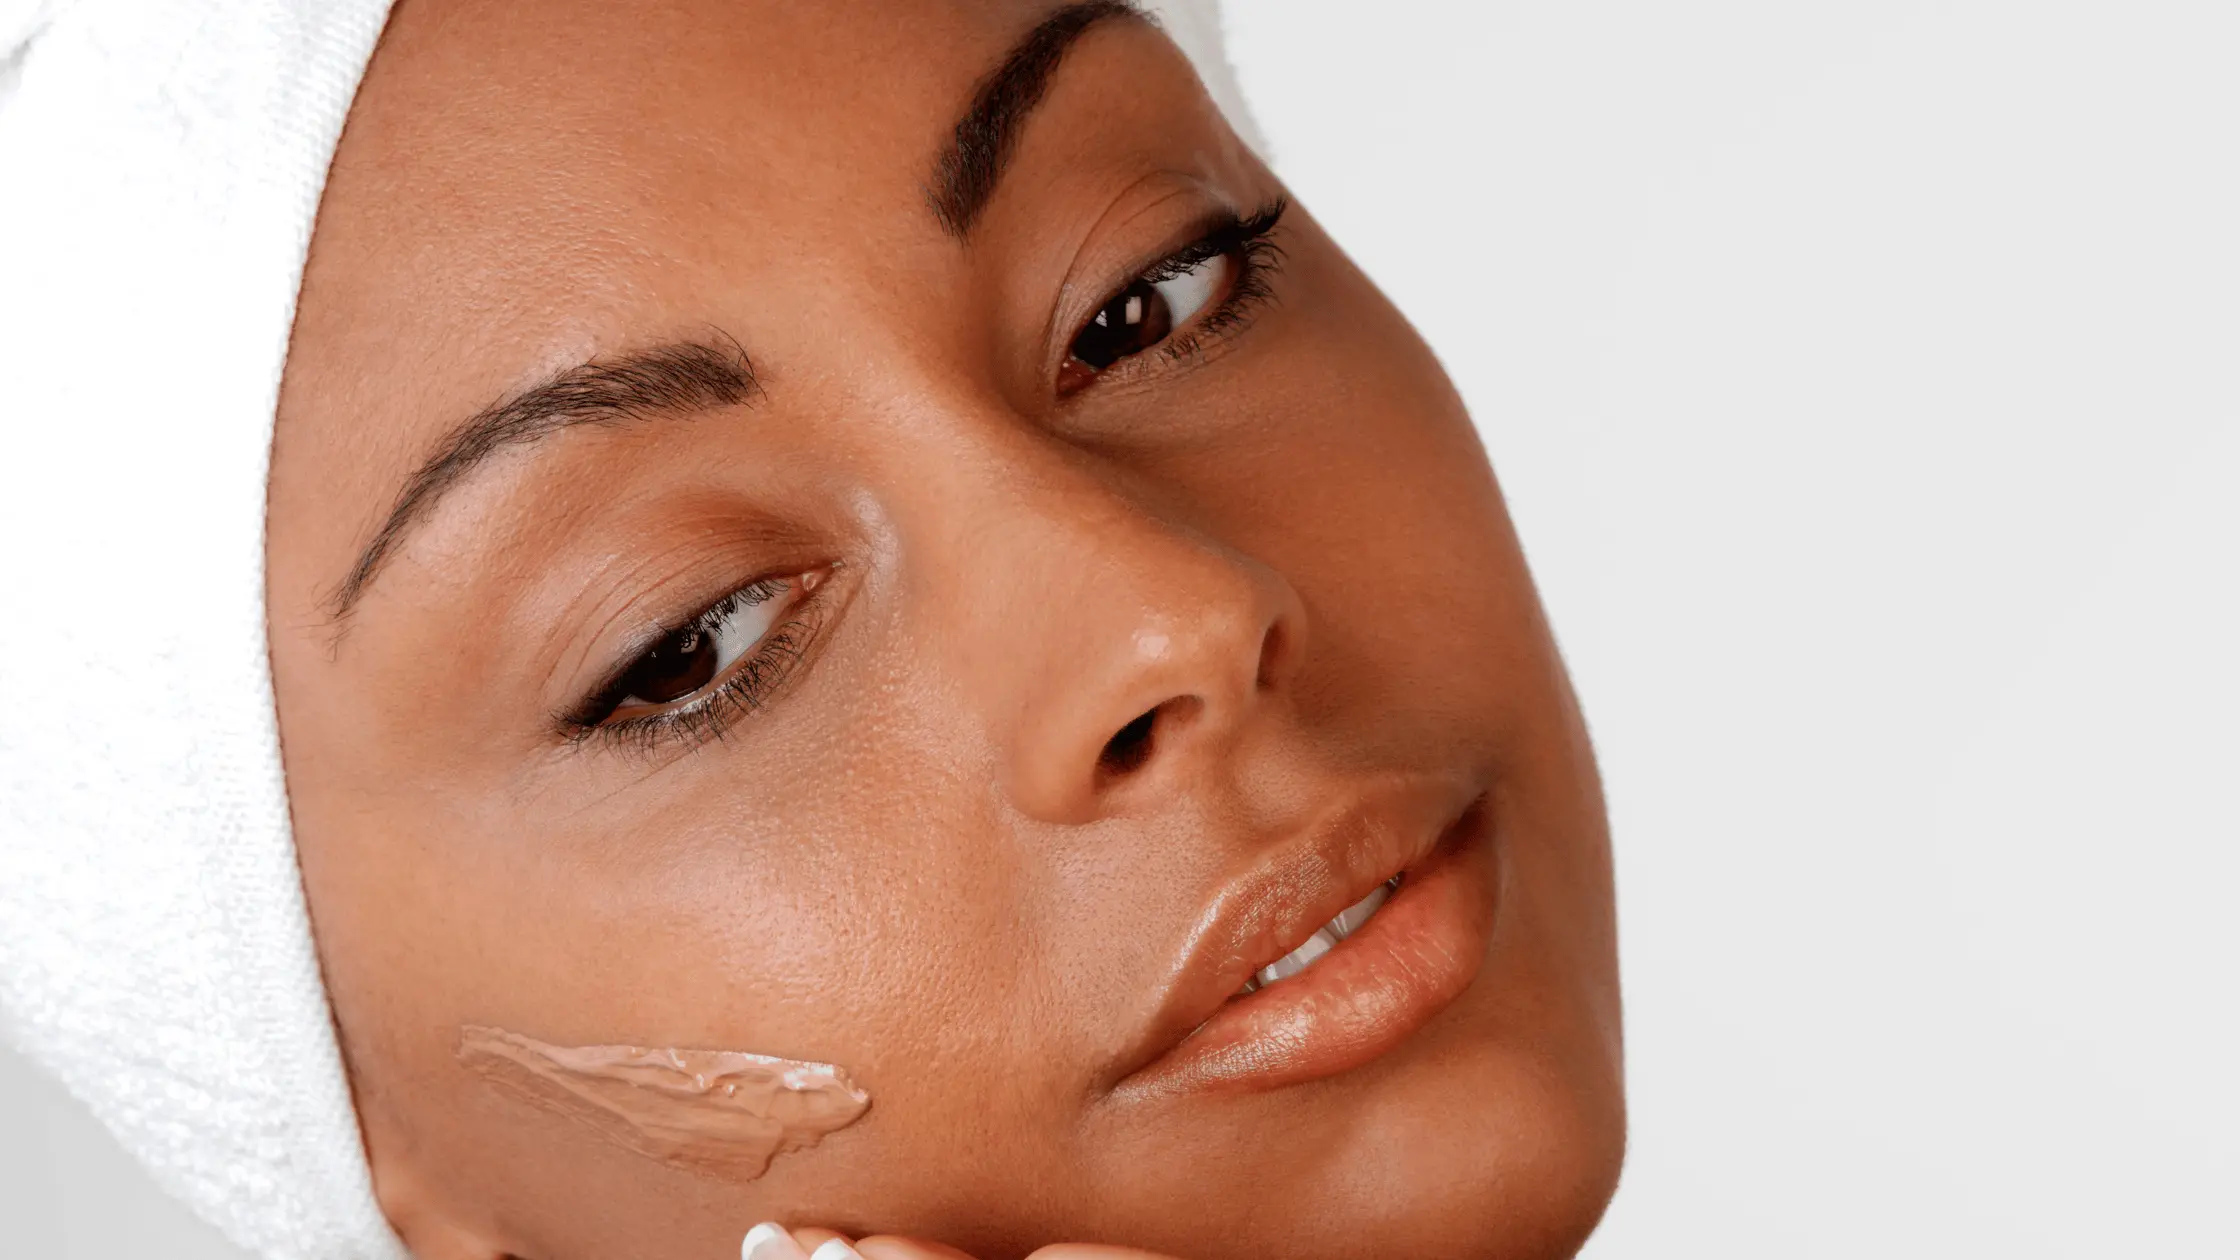
3. Apply Concealer
Grab your concealer and cover up all those dark circles and insomnia you’ve been experiencing. It would be best if you used a concealer with a creamy or liquid texture because it offers complete coverage.
Additionally, it is perfect for applying powder heavily as well. Trace an inverted triangle under the eyes, then use your hands or a concealer brush to blend carefully.
You can spice it up by applying the concealer beyond the cheeks and outer corner of the eyes in addition to the under-eye areas. Ensure you use a makeup blender to blur the lines before moving on to the next stage.
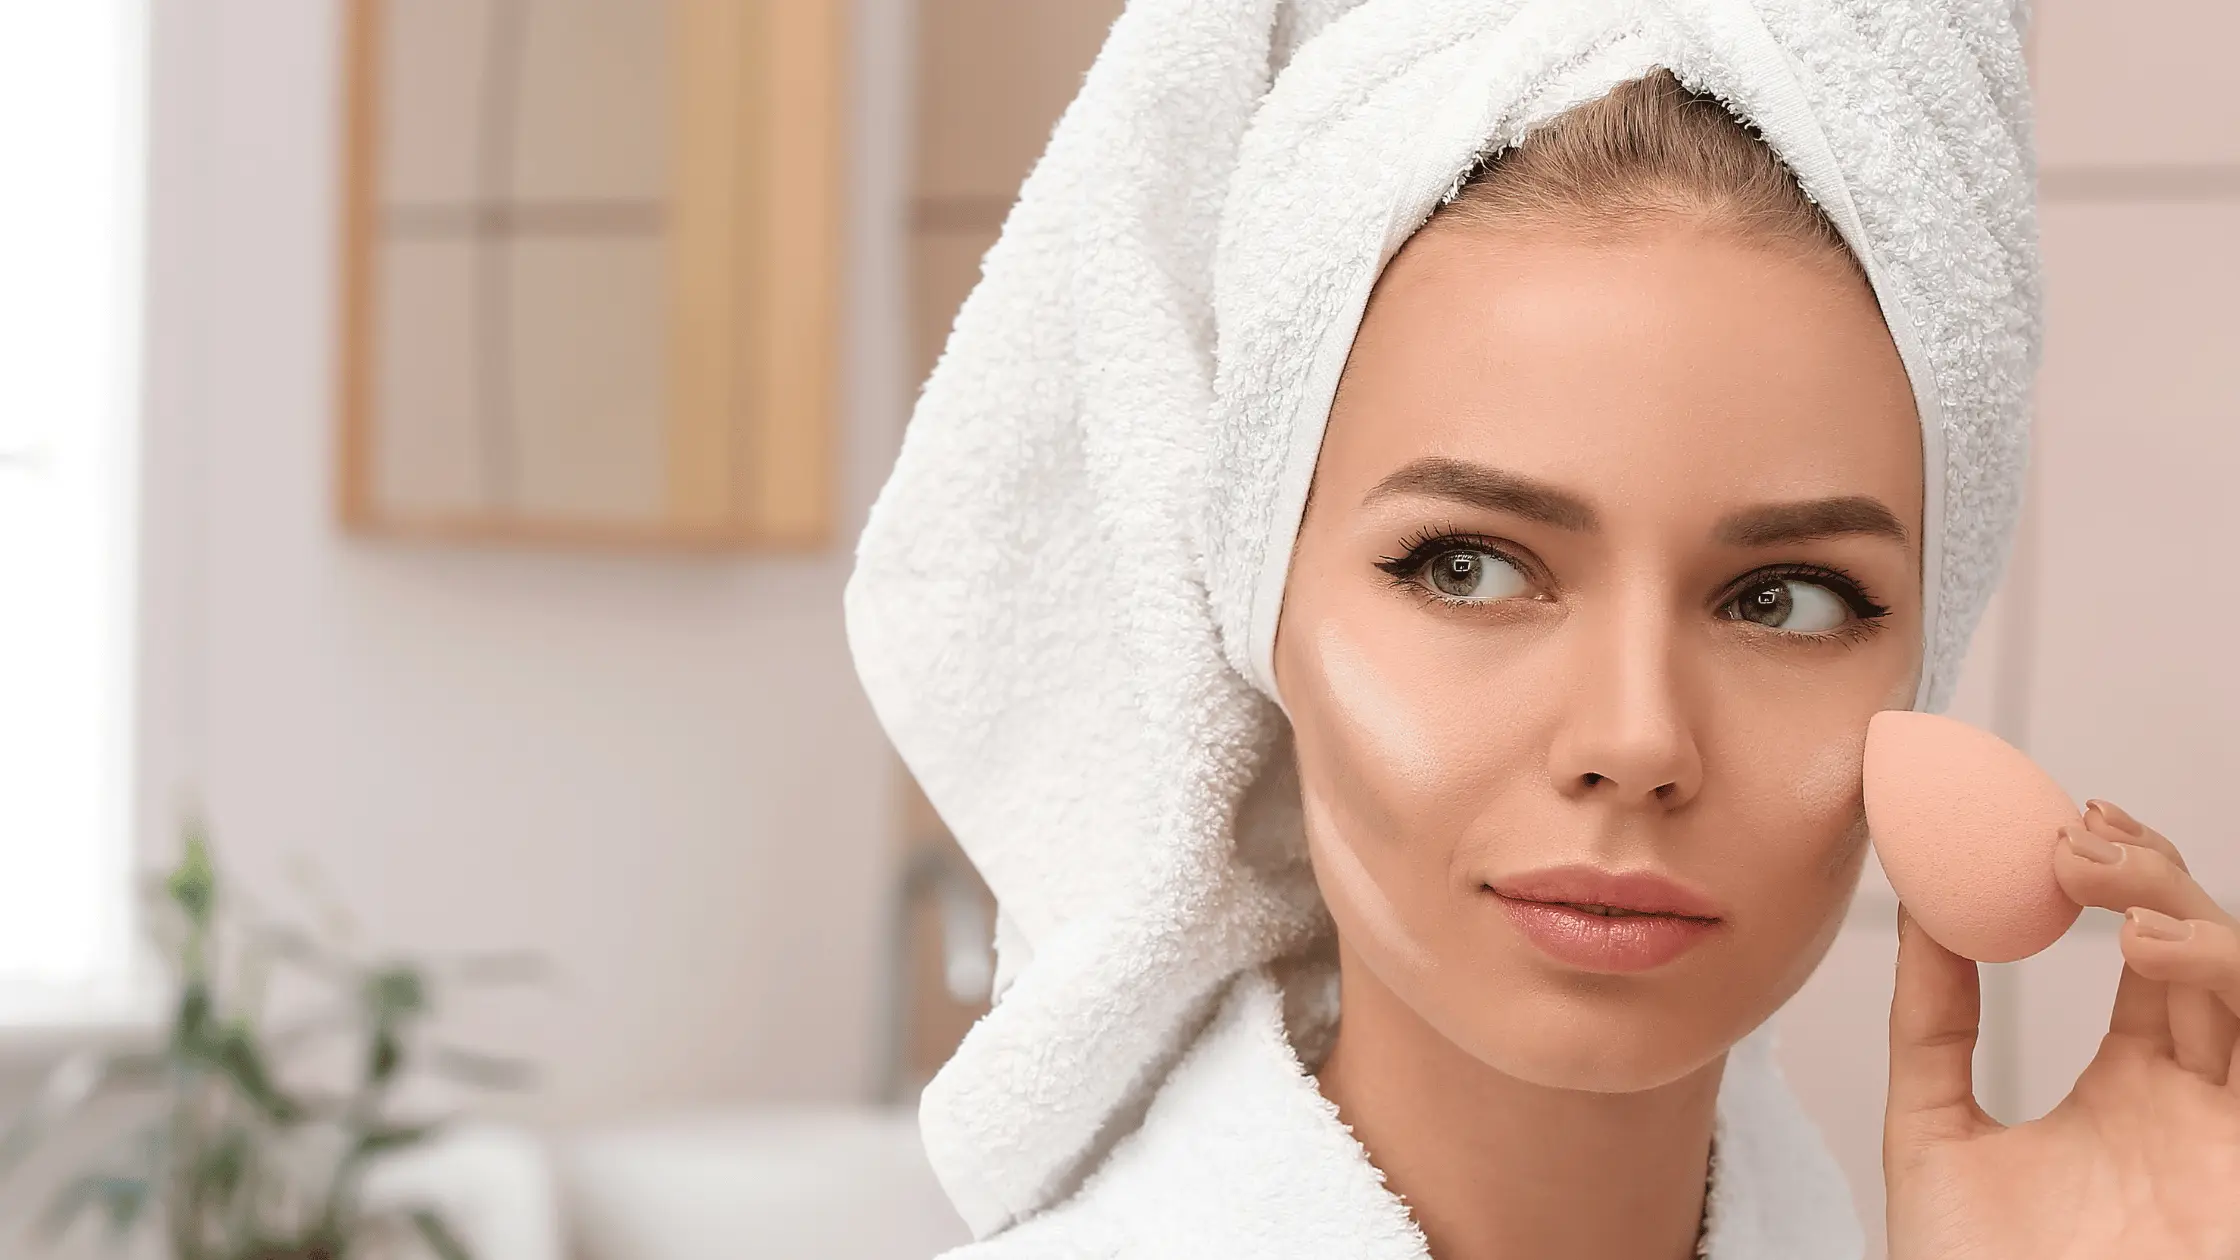
4. Apply Setting Powder
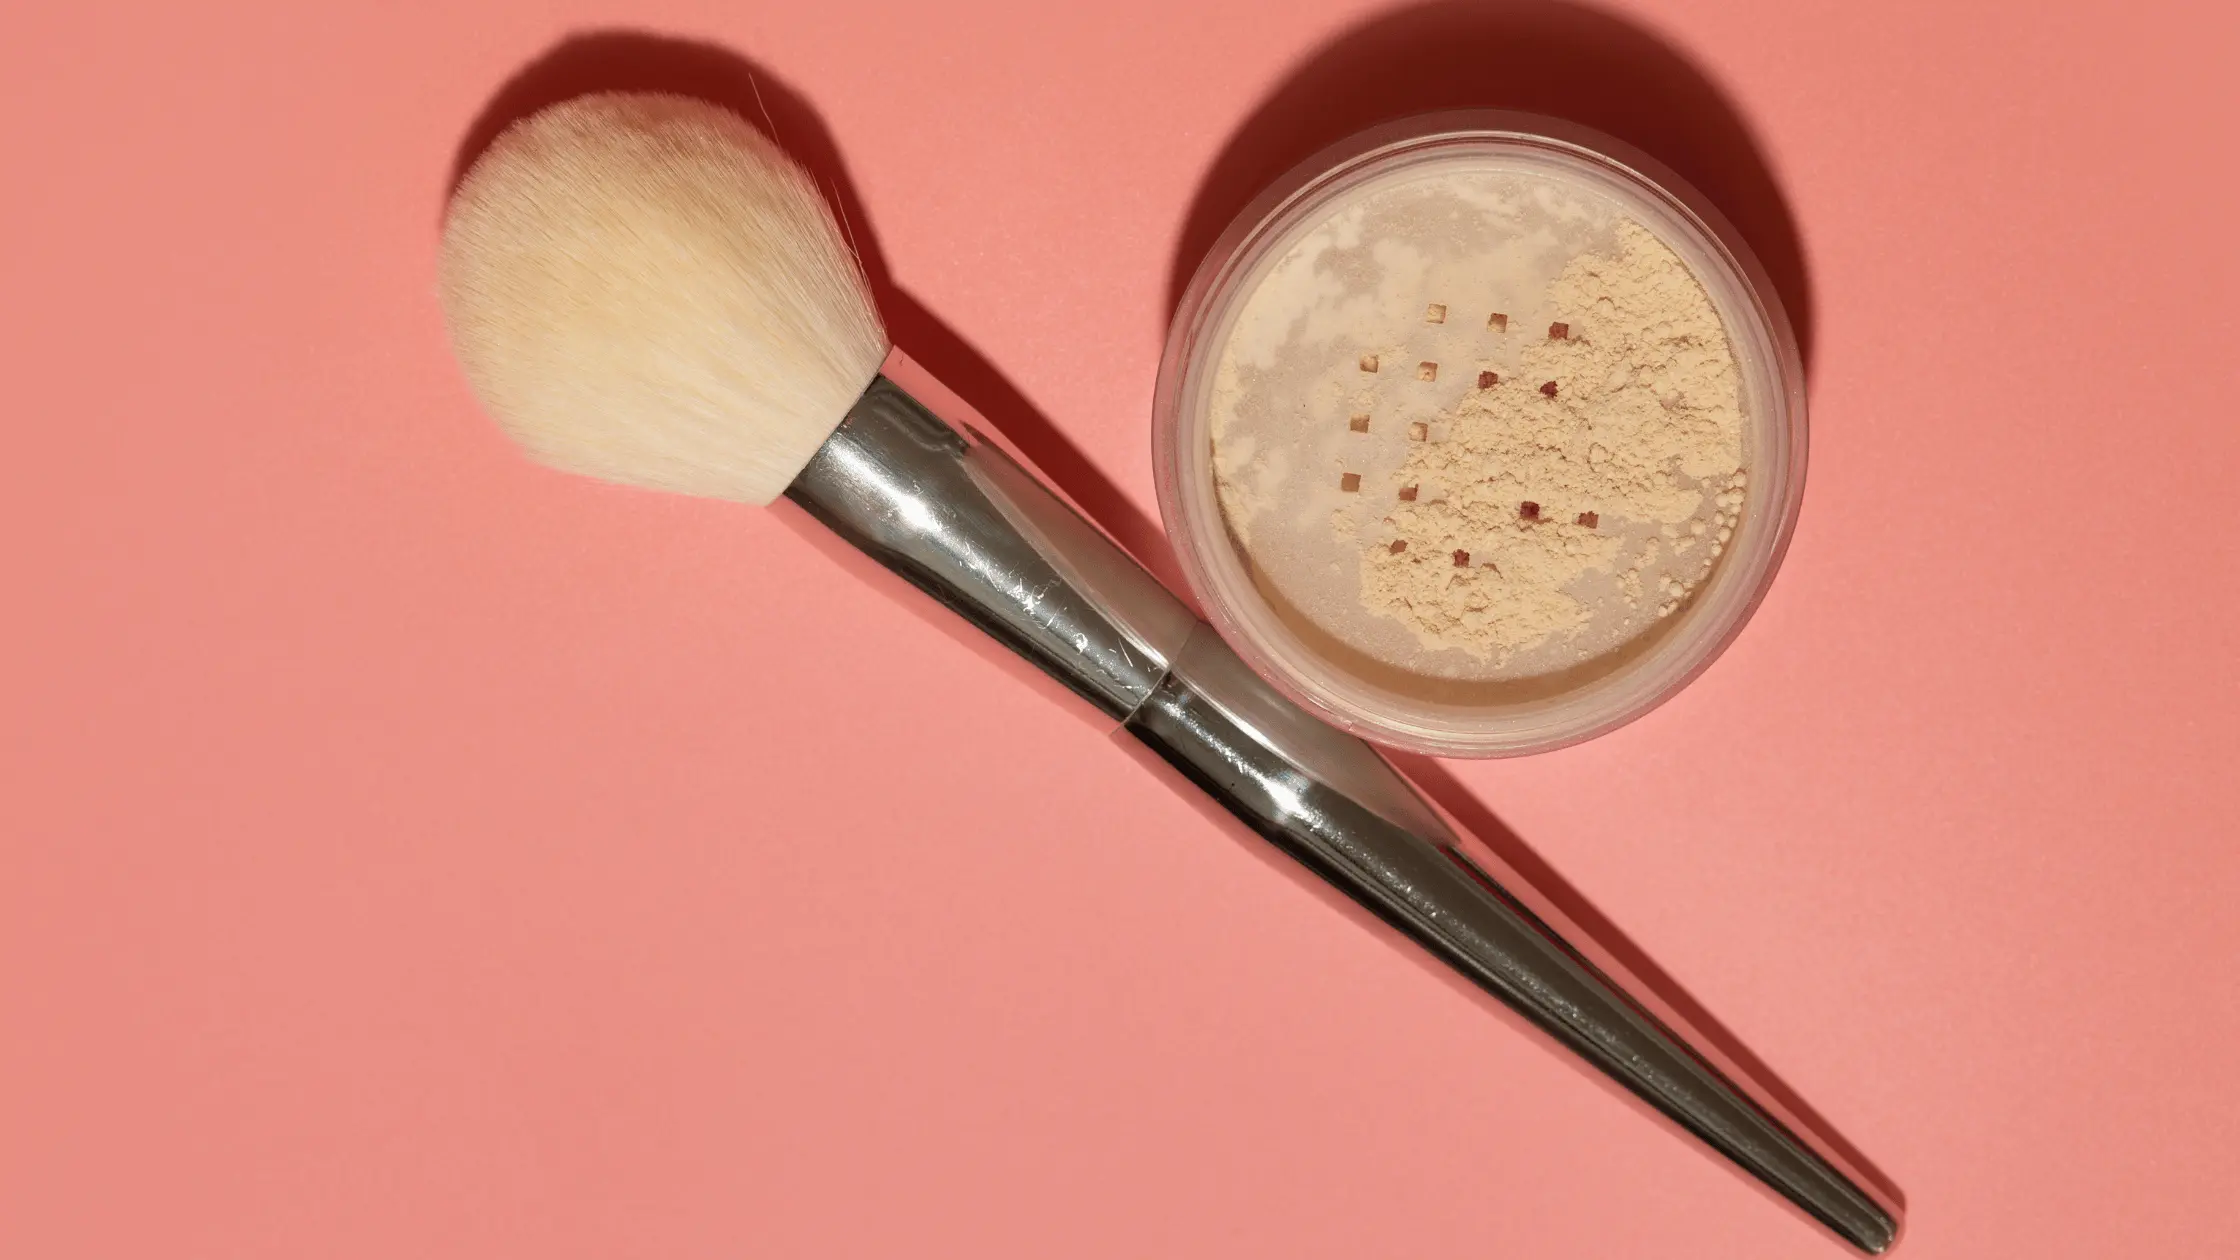
Apply a setting or translucent powder under the eyes to start the baking process.
You can also use powders with pigment; whatever you choose is acceptable. Essentially, baking pushes your makeup to the limit for an airbrushed look around the eyes and cheekbones.
The main benefit of baking is to keep the under-eye area bright and flawless while applying a heavier eye look or bold colour. Of course, once dusted away, the perfect finish is revealed.
5. Allow To Bake
The powder has to “bake” and blend with your body’s heat for about five to ten minutes to set with your makeup.
While waiting, you can apply your eye makeup, shape your brows, put on mascara, or tend to other things to pass the time, and before you know it, ten minutes is over.
6. Dust Off The Excess Powder
After the powder has had plenty of time to bake, smoothen it and brush off any excess powder using the same brush you used to apply, add more powder if there’s a need for it; softly wet your face with a facial spray before adding more powder.
The powder sticks easily as a result of that. Apply the rest of your makeup, like blush, bronzer, highlighter, and other finishing touches, once you are satisfied with the results.
You Look Baked and Beautiful!
Consider yourself fully baked once you’ve finished applying your makeup. Keep a powder compact on hand for quick touch-ups if your skin feels oily throughout the day.
Applying loose powder on the go can occasionally go wrong and become messier than applying it at home. You’ll quickly become an expert if you experiment with a few different finishing powders to know the one you prefer for baking.
Here’s a video if you need some visual guide:
Benefits of Baking your Makeup
- Baking is essential for you if you have oily skin. You get a long-lasting, matte finish, and it absorbs extra oil.
- Most women complain that their liquid makeup starts to look cakey after a while, but baking gives you a flawless finish that lasts very long.
- Most women have large, open pores, which make their skin appear more sallow and aged. You can achieve poreless, smooth skin by using the baking procedure.
The Disadvantage of Baking
- Layering powder, concealer, and foundation on each other to create the effect of baking might clog pores if you use too much makeup.
- Not all skin needs baking; it causes dehydration by eliminating the natural oils in your skin. More wrinkles are caused by dehydration.
Is It Necessary To Bake Your Makeup?
Imagine baking as a million times stronger than a makeup setting. I’m envious of you if you only use a little concealer occasionally and avoid wearing full-coverage makeup altogether; baking is not for you.
However, baking is a super-excellent step for anyone who wears full-face makeup and wants to ensure their foundation stays budge-proof, crease-proof, and sweat-proof all day long.
Conclusion
Apply a generous amount of translucent or loose powder on your face to help the base last longer. You can always brush off the extra.
Baking is like setting your makeup; it’s not for you if you do not wear full-face makeup. Baking is done to keep your makeup on longer and to prevent creasing.
This guide will assist you in learning the baking technique. Remember, you can’t master a makeup technique in a single day, but practice makes it better.